Finally, after many posts on my son's Superhero room - it is finally finished! I am sure....that I will find more "little" things to add, but for now it is done. I love the fact that nearly the entire room is made by "me"! The only things that I could not make was the bedding, new trash can (aka laundry basket), and the Superhero wall stickers.
I will forewarn you that this post will have many pictures but short of taking a video, this is the best that I can do. I will try and explain things the best that I can while showing the pictures.
As you open the door, this is the first thing that you will see.
The sign is a picture of Batman and Robin that I made in vinyl. To finish the picture I added the words "Welcome All SuperHeros" in dark blue vinyl.
To the very right of this wall, we took the Batman logo we had made for a different project and oversprayed it with black spray paint. Then I took bright yellow vinyl and added "Batman" inside the logo to achieve the following effect.
To the left of the "Welcome All SuperHeros" sign, is the main part of the bedroom. Following around the wall is the closet. I moved my son's letters that was on a different wall and placed them to the right of the closet. And then added just a few small Superhero stickers on the closet doors and above the closet.
The next picture shows part of the closet and then the next, main wall of the room. This is really the first wall you see once you walk past the door and this is where my son's name was previously placed. The picture below shows the new Batman sign we made, which is just fabric wrapped around a wooden frame my husband built. And you will see a few Superhero stickers on the small "dresser" that is below the Batman canvas.
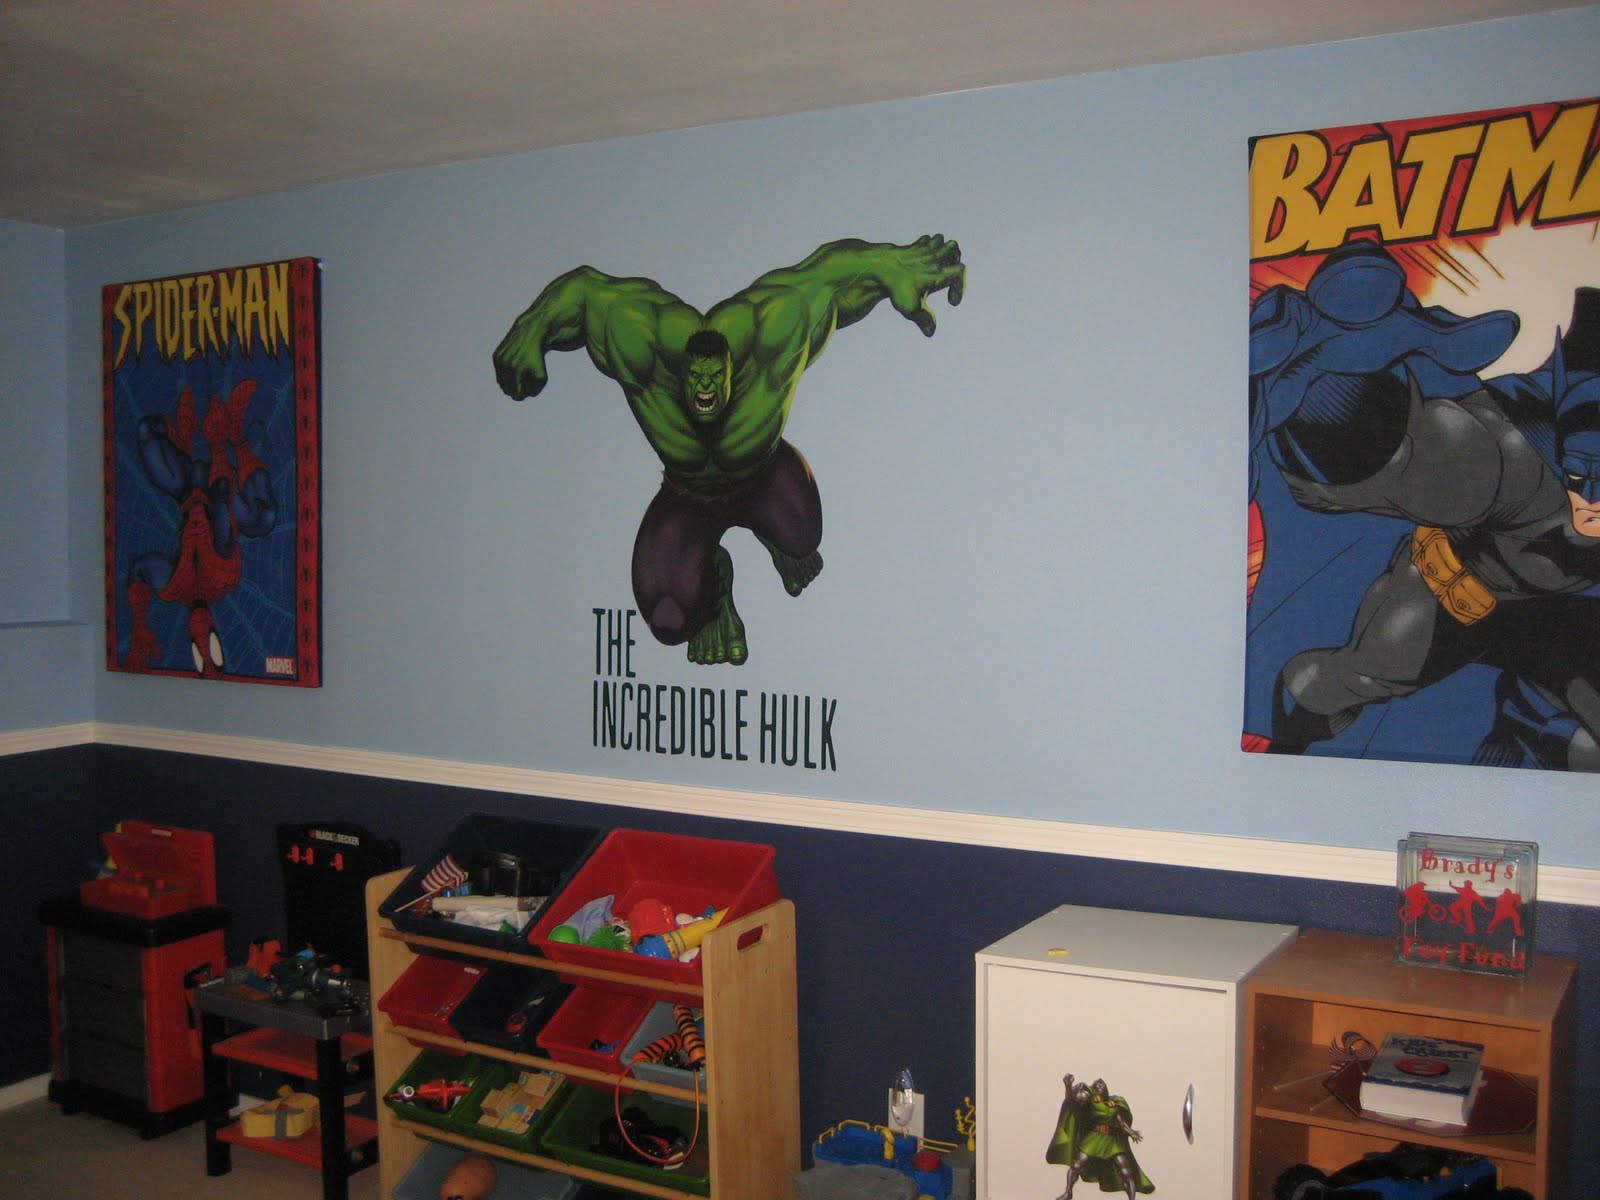
This next picture shows the entire wall. The Spiderman canvas is another piece of fabric, but this time we wrapped it out of 1 1/2 inch stryofoam that we had Lowes cut for us. And the Incredible Hulk sticker I bought online. I made "The Incredible Hulk" in dark green vinyl.
To the left of this wall, is the Captain America sign that I made out of stryofoam. I have never worked with stryofoam before and was amazed by what can be created with this and how inexpensive the product is. I have several posts about the stryofoam signs I made so I won't go in detail here. But this is the Captain America sign I made and then I added a small Captain America wall sicker next to it.
The next picture shows the entire wall. The Spiderman window valance, I made out of stryofoam. Super easy and super cheap! Again, I have another post on that (I think...if I don't, I will make one soon) and then the "Super Hero in Training" canvas to the left of the window, I also made. That I used vinyl and a basic 16 x 20 canvas. The rest of the wall has small Superhero wall stickers.
Here is a close up of the canvas I made!
The next picture shows the bed which has new Superhero bedding and the Batman sign above the bed. The sign is made out of stryofoam and looks so nice in person! Around the sign is more, small Superhero wall stickers. To the left of it is a preview of the custom made photo canvases!

The next picture shows a lot of stuff! The trash can is the laundry basket and the lid (aka shield) is one of my son's favorite part of the room! To the right of that is the dark blue cubbies. I have baskets sitting on the top which holds all of the kids' Superhero masks in the green basket and the costumes in the blue basket. On the wall above the cubbies, is the NYC skyline with Spiderman flying down from the canvases. The photo canvases I made with styrofoam, black fabric and black & white pictures (more info on an older post). Then above the photo canvases, I have in dark blue and red vinyl, "Sometimes Friends (and my Brother) are Better than Superheroes". To the short wall on the left, I made out of stryofoam the Superman's logo. Below that I made the "Bang" sign out of white vinyl.
Finally, as you walk out the door, I have one small Superhero sticker and a small vinyl sign that says "POW".
So, that's it! This project took a long time to do, but it was definitely worth it! My son may not appreciate that nearly everything is home made but I love the fact that it is and my son is very happy with the end result!