Welcome to my Website! In addition to creating and selling my products, I love to try new ideas, many of which will be showcased in my blog found on the Home page! Check back often for new blogs and new items I will have for sale! Need something designed but do not see it in my catalog listed under the Vinyl Templates tab? I can custom design nearly anything, please contact me and we may be able to create a wonderful product based on your ideas! -- Cindy

Back to School Time Part 2

Last week my oldest son started Kindergarten and I decorated his water bottle and pencil box.  This week my youngest will be starting preschool!  A water bottle was not on the required supply list but a pencil box is so I have one more simple project to complete to personalize Kevin's new pencil box.

Kevin picked out the colors and I helped find some images that capture Kevin's current interests!  I found a silhouette of Mickey Mouse - Kevin's favorite TV show and then another image of a gecko.  I don't think Kevin has actually seen a gecko other then maybe the zoo but he loves the pictures of geckos and other creatures of that size. 

Kevin's new pencil box is now ready for Preschool! 


Back To School Time

These 2 projects were very simple but something that I wanted to do for my oldest boy who is starting Kindergarten TOMORROW!  This is a new adventure for the whole family starting with Back To School Supplies to buy, clothes shopping, packing lunches and not having my boy for 5 full school days every week!

When looking at the required school supply list, every item required the students' names on them in permanent ink.  I'm fine with doing that for the boxes of crayons, glue sticks, etc... but when it came to my son's pencil box and water bottle I wanted to make it a little more special for him.  Again, just a very simple project but by just adding his name in vinyl instead of permanent ink I think the items look much nicer!  And...even though there is only "one" Brady in his Kindergarten class, my son still insists on being called "Brady M" which was his name in preschool since that class did have more then one Brady in it!  He is very adamant of this name as we even have had to put that on his Birthday cake, cards, signs for his bedroom, etc...

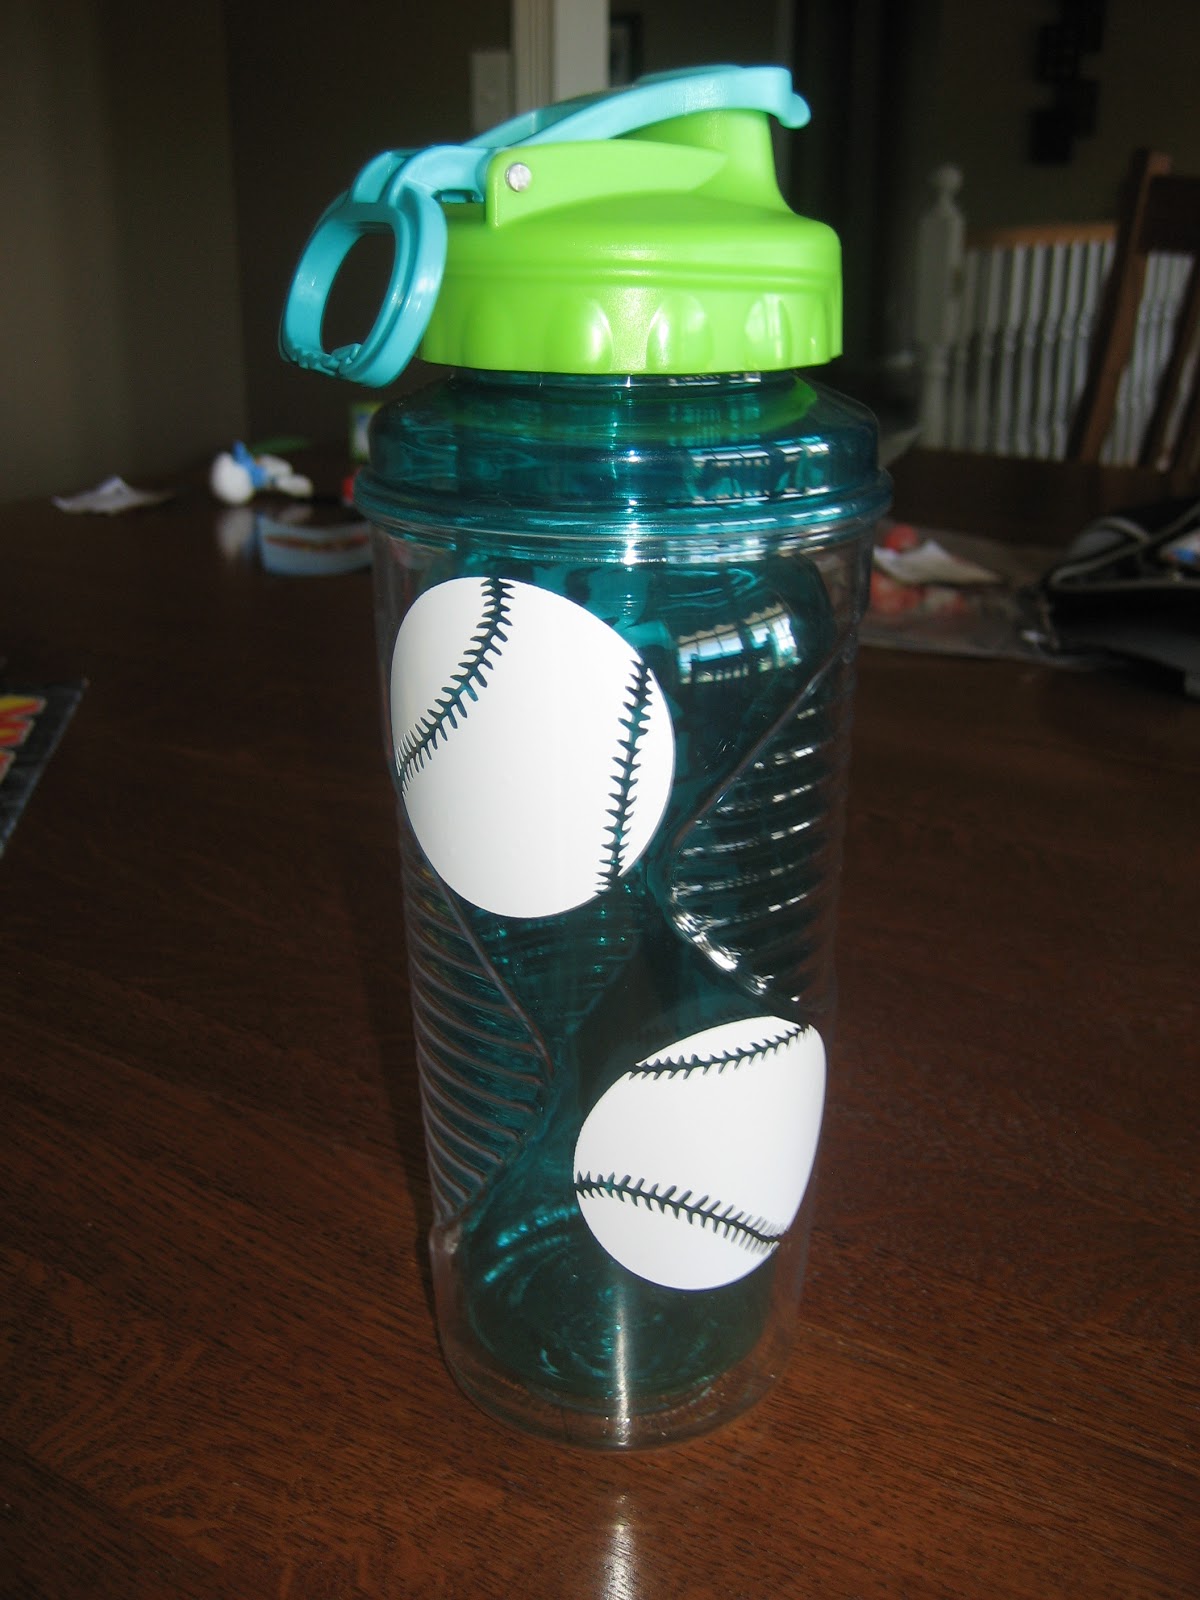
Below is Brady's new water bottle which I added a couple baseballs to it and the bottom his pencil box.


And finally here is Brady checking out his new desk at the School Open House just a few days before school starts.


Enjoy the Simple Things...

Let's just say this tile was anything BUT simple!  I have made this design in one color on a 12 x 12 tile and I don't remember any headaches with that one.  When shrinking down the design and placing it on an 8 x 8 tile, I ran into all kinds of problems!  The fonts were too skinny on just a few of the letters so some of the letters would be literally cut off.  Then I changed the width of the problem words but, again, the letters are cut off....I tried changing fonts but couldn't find any fonts that I liked.  In the end, it finally worked but I did waste a ton of vinyl in the process!  And I also secured the letters with a layer of modge  podge just to ensure nothing would be accidentally rubbed off as I was not going to do this sign on this size of a tile EVER AGAIN!  : )

I do like how the 2 different colors (burgundy and black) worked on this brownish/reddish tile.  It will be placed in a kitchen on a black marble counter top and the kitchen itself also has red accents throughout.  I hope they like the color choices anyway or, if not, they will have to be "ok" with a bigger tile for the sign!  Realistically looking at the sign you wouldn't expect too many problems but it was just one of those tiles that you just make once! 


Calling All Quilters!

This new tile is perfect for the people who love to Quilt!  The design is a modification of a wall saying I have done previously that said, "My husband lets me have all of the Scrapbooking supplies I can hide" to the following 12 x 12 tile which is completed in dark brown and burgundy!


Golf Cart - Vinyled

How do you find your golf cart among the hundreds of others that are stored at the golf course?  Sure, you may have your own "parking spot" but if anyone is like me, I would easily forget where that "parking spot" is.  The solution is to personalize it with your own name and stick figures!

This isn't my golf cart....since having kids I can count the number of times I have golfed on one hand!  But, I do know these clients "very well" and they now have their own custom designed, personalized golf cart!

The picture is not the best and you will see the reflection of the camera taker (which is not me either!) but you will be able to see the newly designed sign personalized right on their hood of the golf cart!  It's hard to tell by the picture but the golf cart is brown and the vinyl is a beige.  Now, there will be no confusion on who owns this golf cart!

Ceramic Pig Vinyled

I have seen pictures of ceramic pigs decorated in tu-tus, baseball caps and other themes and always wanted to decorate a pig myself.  I planted this idea as a baby gift to one of my good friends a few months back as I had no need for a decorated pig in my house.  And just a few days ago my friend shows up at the door with a big, white ceramic pig and tells me to decorate it!  And she needs it quickly!  : )

In the end, this was a fun project but it started out poorly!  The baby girl's name is "Elliana" and we chose to put her name over the monogram "E" on the 2 sides of the pig.  Let's just say I learned about every possible thing "NOT" to do on the first side but after numerous failed attempts I figured out how to align up the "E" and layer the name while keeping everything straight.  It's the curvature of the pig that makes everything difficult!  So when I went to put the name on the second side, it took just a few minutes to line everything up and in just one try! 

After the names were in place I cut out butterflies and flowers in different sizes and colors and small squiggly lines.  My friend found out what colors the baby's room was and we chose matching colors from that.  The orange bow on the top of the pig also comes from the colors of the baby's room.  When all of the smaller embellishments were cut I chose to have my friend help me put the decorations on the pig.  This turned out to be a very fun project as she chose the placements of the vinyl and put nearly all of it on the pig.  In the end, I loved how this pig turned out!  Meet Elliana's New Pig!